Building the Castle: First Steps into the World of Home Labs
Edit: I was invited to the inaugural episode of SuperQuit to discuss my home server build! Listen to the full episode here!
Right around the time Valheim was taking the internet (and my friend group) by storm, I stumbled across an interesting new subreddit - r/homelab, a community of networking enthusiasts, server junkies, and data hoarders sharing their server racks, seeking advice, and encouraging each other along the way.
I was, of course, immediately intrigued. I’m no stranger to the concept of a server, but most of my professional experience pertained to cloud-hosted machines that you never actually see. Whether it was the desire to have an always-on Valheim server or frustrations surrounding slow progress at work, I don’t know. But by February 22, I had successfully purchased, assembled, and booted my first dedicated, non-ARM-based home server.
Let me show you how!
1. Research
I didn’t immediately decide to invest in a custom rack-mountable server. I actually spent a few weeks just exploring the various things people were doing with their own servers. I gradually discovered a few helpful resources that were (and continue to be!) excellent sources of information:
- r/homelab
- r/homeserver
- Craft Computing on YouTube
- TechnoTim on YouTube
I eventually had a short list of things I wanted to experiment with and learn about on my soon-to-be-built server. Home network updates, network-wide ad blocking, Kubernetes management, networked storage, game servers, and more were all on the table!
I also learned a bit about the various machines that “home labbers” tend to use. There’s a massive market for used enterprise-grade equipment if one is looking for inexpensive hardware at the cost of increased power consumption and noise. One can also simply repurpose an old computer they already own. For those willing to spend money on new equipment, options range from individual or clustered Raspberry Pis to Intel NUCs to purpose-built “whitebox” systems made from consumer-grade components.
Given the size of my apartment and the noise a refurbished enterprise server would produce, I certainly wasn’t going that route. I also wanted to make sure I could run most software, so the much-beloved yet ARM-architected Raspberry Pi was disqualified. NUCs looked interesting, and I very well may buy one in the future, but they didn’t seem quite powerful enough to grow on.
That meant I was headed for the last option - time to build!
2. Hardware Selection
Having already built a computer or two in the past, the idea of putting yet another one together was exciting! Ultimately, I ended up laying out this build on PCPartPicker.
I started with the chassis - I very quickly fell in love with the Rosewill RSV-Z2600, a 2U (“unit”) rack-mountable, low-profile case with room for a few harddrives. Someday, I want to buy a server rack and fill it up. For now, this case will just sit on the corner of my desk.
The low-profile case presented an interesting twist on what was otherwise a normal PC build. I had to be sure I was buying components that would fit in the narrow body I had to work with.
There were two other quirks that I had to work around. I read online that the ASRock B450M Pro4 motherboard technically supported the AMD Ryzen 5 3600 CPU I had picked out, but might require a BIOS update first. However, as the motherboard doesn’t support flashing the BIOS without a CPU, I would need to get a second, cheaper, older CPU to perform the upgrade before installing the permanent, newer CPU. I also read in some Amazon reviews that ASRock was pre-flashing motherboards with the latest update, and that was luckily the case with mine.
The second bit of weirdness was the lack of integrated graphics on the CPU or motherboard. Apparently, only certain AMD chips come with onboard graphics capabilities. Without any kind of built-in video solution, I ended up having to buy an MSI GeForce GT 710 just to install my base OS. As I planned on configuring this machine as a headless system, it serves no purpose 99% of the time.
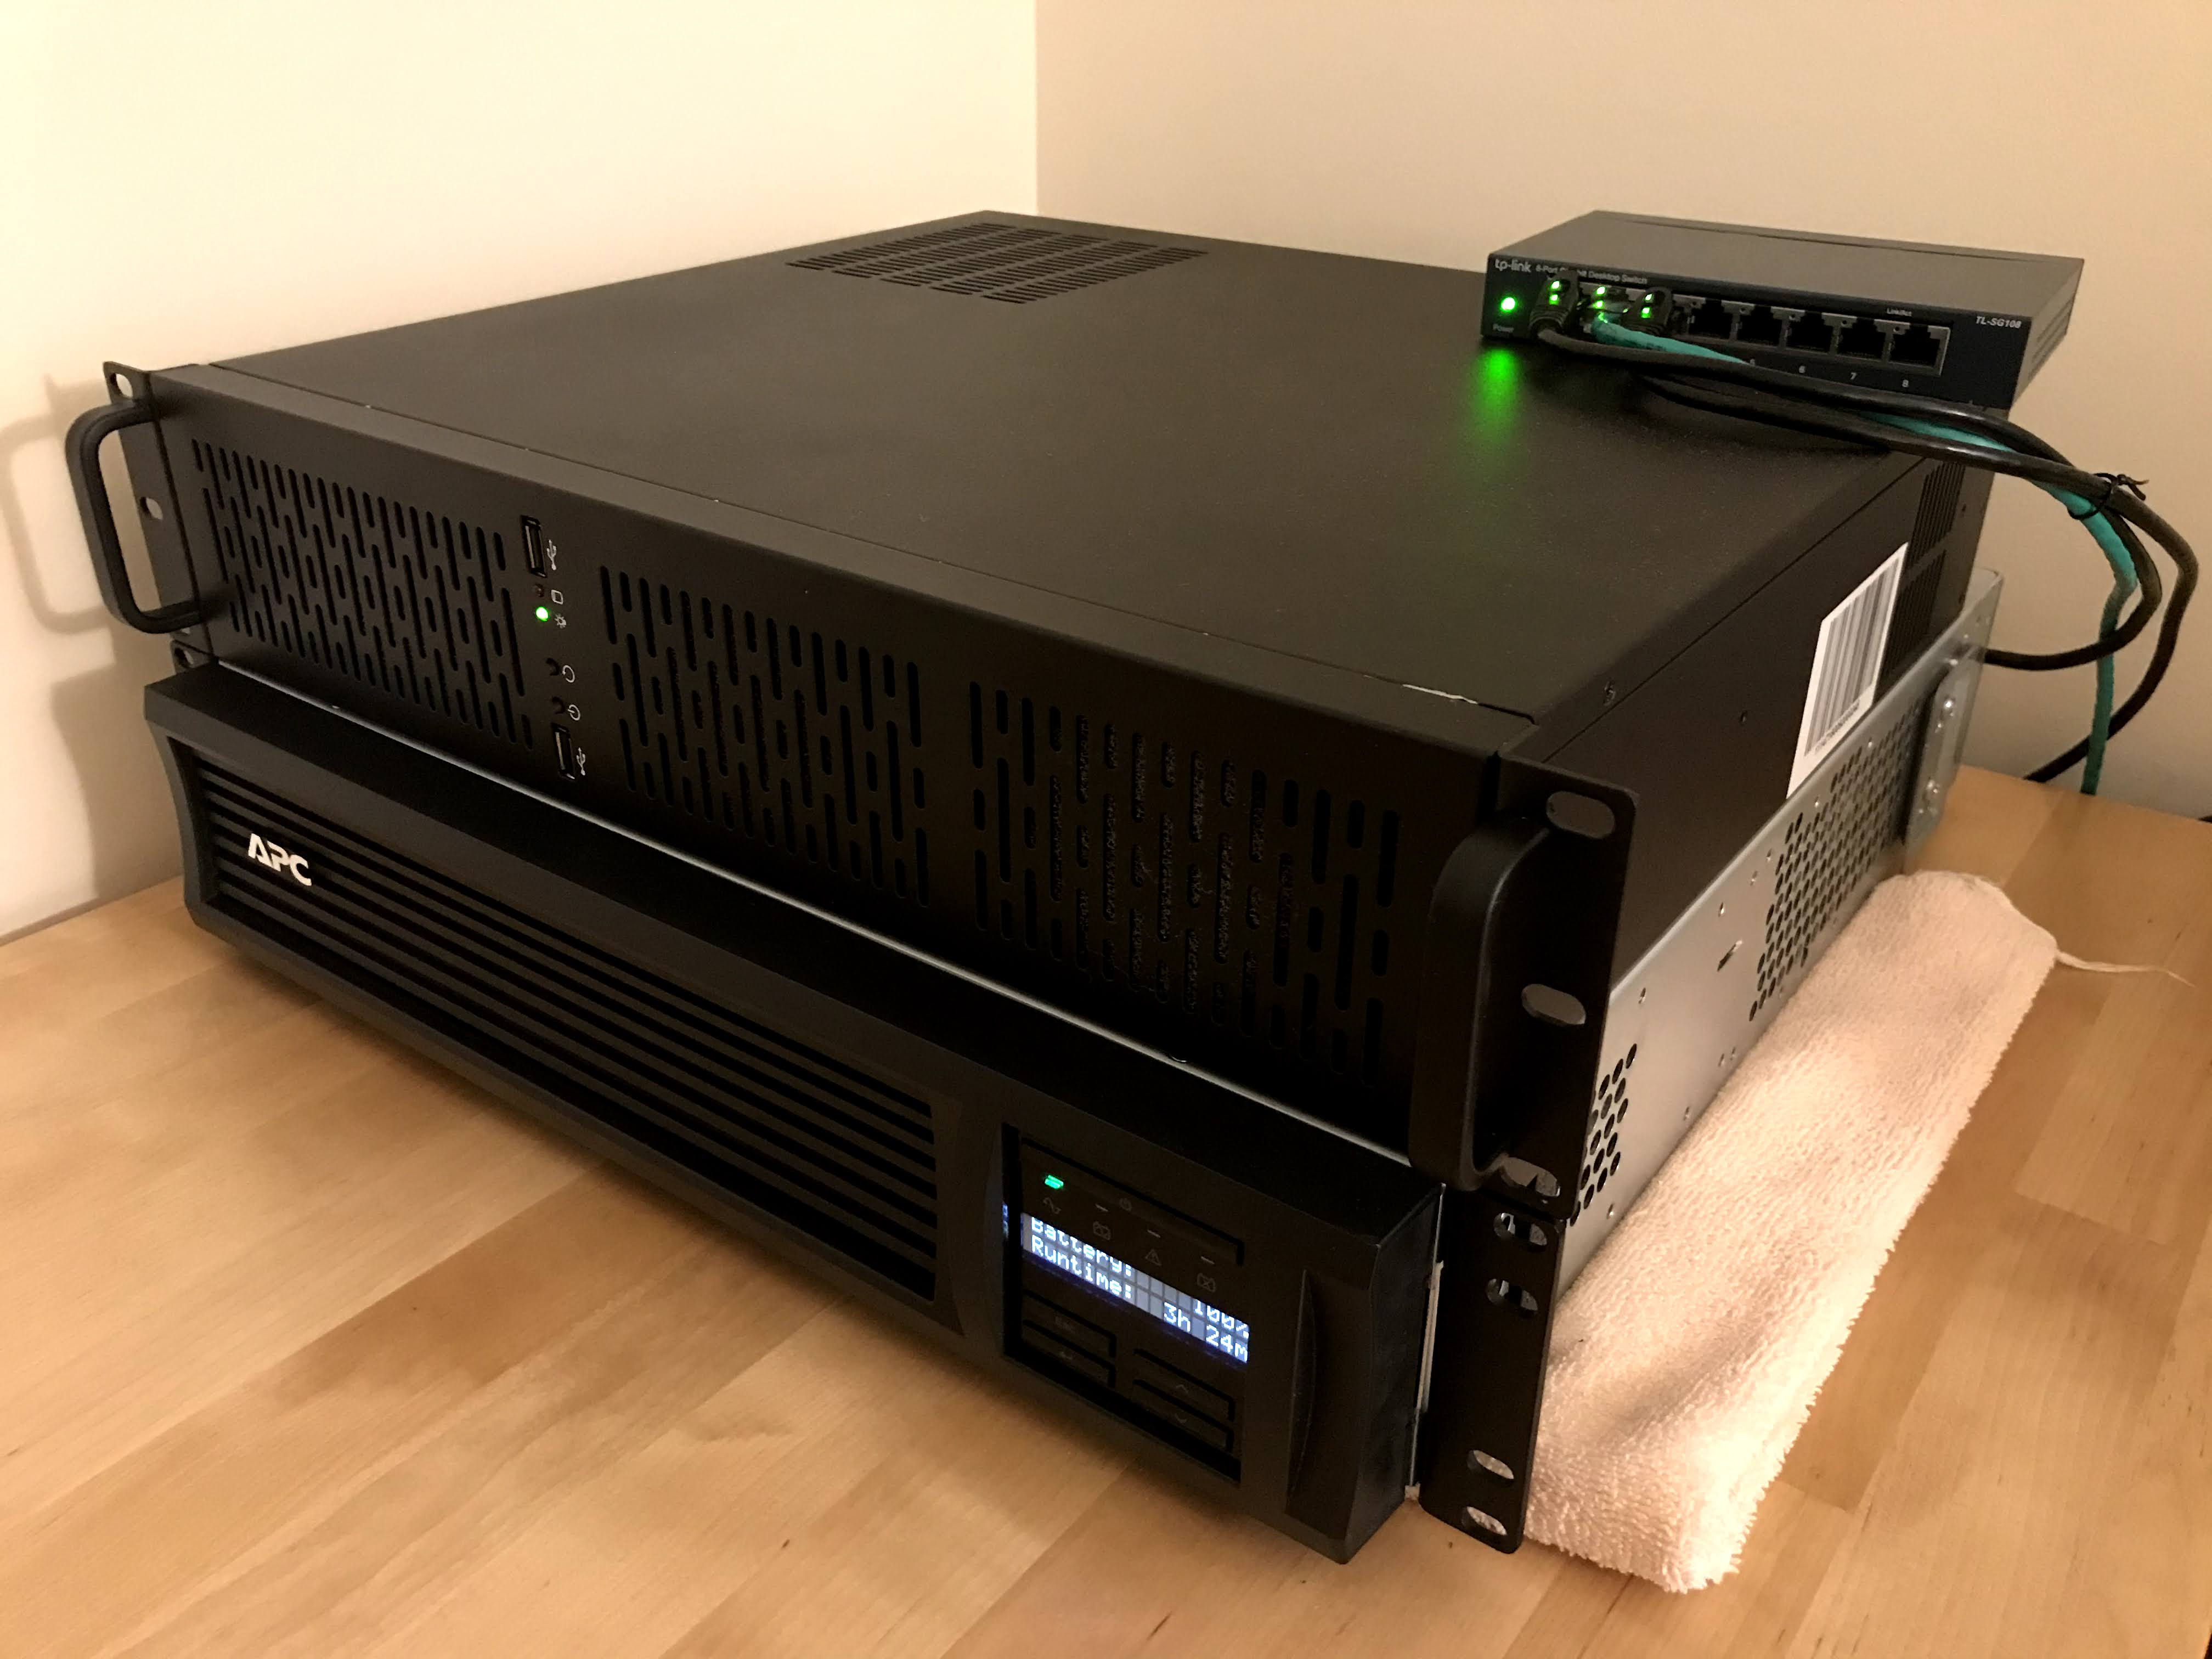
Overall, the server cost me about $900. Combined with a beefy UPS that I acquired from a friend, I ended up with a significant home lab setup to kick off my journey.
3. Proxmox Installation
Of course, a brand new machine is worthless without at least some kind of operating system. I had enough experience with system administration to know that a fresh installation of any OS can quickly become cluttered with orphaned dependencies and legacy scripts. For that reason, and to ensure I could experiment with any OS in the future, my base operating system is a virtualization layer called Proxmox. There are several similar operating systems available, but this one seemed fairly beginner friendly.
Proxmox is actually Debian with some bits bolted on. After installation, it doesn’t surface a traditional UI. Rather, it immediately launches a hosted UI that can be reached via the server’s IP address from any browser on the network. This way, I didn’t need a dedicated monitor or peripherals for the server - my normal desktop would serve just fine!
After doing some configuration to make some hard drives accessible, I got a basic virtual machine template created using a Debian cloud image. Cloud images are snapshots of installed operating systems that require no manual setup on the part of the admin - just load the image into a new VM, start the VM, and log in to the running environment. This took some configuration but ultimately resulted in a cloneable template that can be used to spin up real VMs on demand. Those clones feature fully installed Debian with key-based SSH authentication ready to go.
Conclusion
I hope you’ve enjoyed this brief look through my initial home lab journey. While the physical server may be finished, this is clearly the start of something long-term for me. I’ve already started working on building automatic configuration scripts using Ansible, setting up automatic backups to S3, and getting a few basic services like DDNS up and running. I’ve learned so much about networking and Linux administration in a very short time, and I hope to document much of my journey here.
With that, look out for more Castle updates in the near future!
Until next time,
- Mario